Android Tutorial (Kotlin) : OTP based login (Part 1)
OTP based login flow has become a default login for numerous apps, especially in India or even SE Asia, where majority of population doesn’t have or use email ids. If you look at most apps targeting Bharat, you can see this pattern, app will first ask your mobile number, then it will ask you for OTP(One Time Password) sent to your phone number, and then will verify it on backend. If it finds the user with same number, it will populate the previous data, otherwise a new account will be created.
Here I will explain the process of creating OTP based login flow in Android app using Kotlin.
This tutorial will assume, basic understanding of Android Development and concepts like Activity, Fragment, Navigation Fragment.
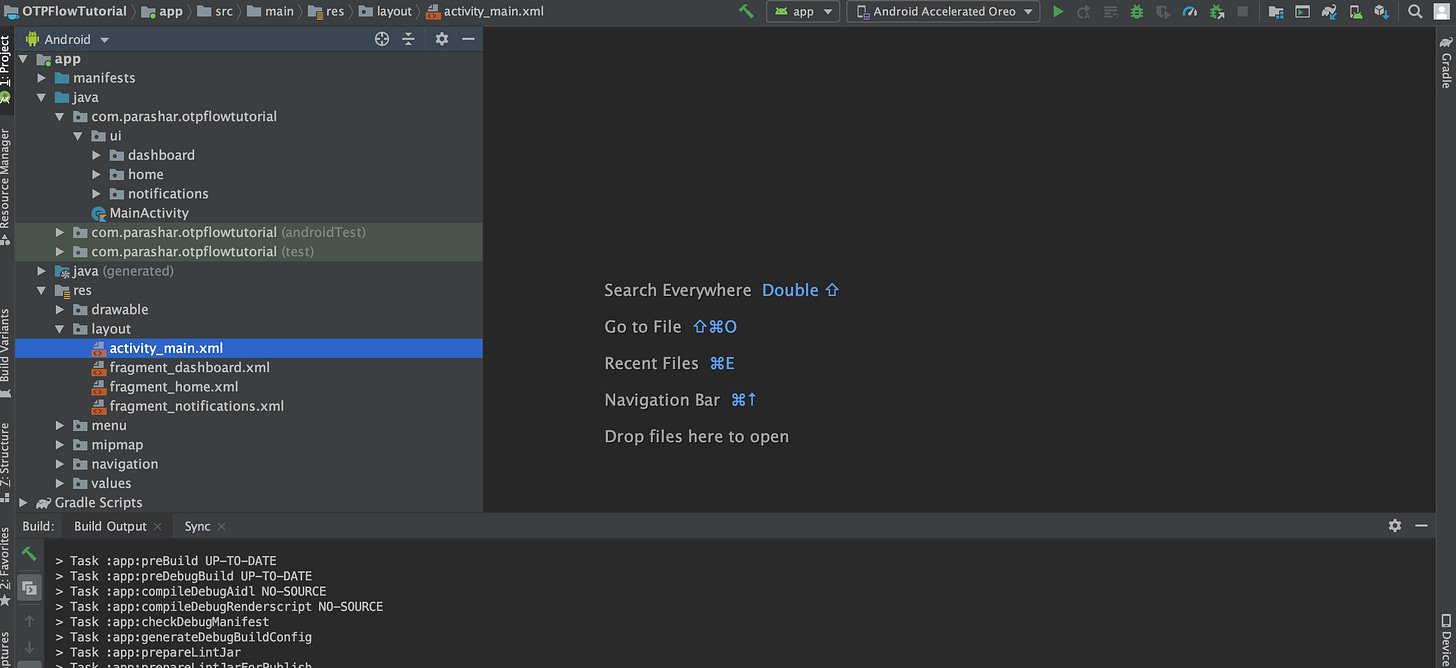
We will start by creating an android project with Bottom Navigation Activity (You can use some other pre built template also). This will give us the following code structure.

Now, we will create one folder named login inside ui package. Inside it, we will define two fragments. And corresponding to these two fragments we will create two layout files fragment_phone_number.xml & fragment_otp_verify.xml:
1: PhoneNumberFragment : For taking phone number input from user
2: OTPVerificationFragment: For taking OTP and verifying it from server
Now, inside login module, we will create our LoginViewModel to manage data interaction in the login flow.
We will define one MutableLivedata variable to handle phone number and another to handle otp. We will be using 2 way data binding, and use LoginViewModel in fragments layout using following code.
<data>
  <variable name="viewModel"         type="com.parashar.otpflowtutorial.ui.login.LoginViewModel" /></data>
Now inside our Fragment files, we will inflate the respective layouts and initialise LoginViewModel. Code to do this will roughly look like this.
class PhoneNumberFragment : Fragment(){
  private lateinit var loginViewModel: LoginViewModel

  override fun onCreateView(inflater: LayoutInflater,
      container: ViewGroup?,
      savedInstanceState: Bundle?): View? {

     val binding = FragmentPhoneNumberBinding.inflate(inflater)

     binding.viewModel = loginViewModel

     binding.lifecycleOwner = this

     loginViewModel =    ViewModelProvider(this).get(LoginViewModel::class.java)

     return binding.root
  }
}
Now, we will create a navigation resource file, we will go to res -> navigation and right click and select New -> Navigation Resource File, we will name it as login_navigation. Here we will define how user will navigate in login flow, that is user will first come to phone number screen, and from there, he will go to OTP screen.
In login_naviation.xml file, in design view, we will click on plus sign and select the fragments to be added in this navigation flow, which are PhoneNumberFragment and OTPVerificationFragment. We will add the connection from PhoneNumberFragment to OTPVerificationFragment, which will look like below. Now, we will create another navigation from OTP screen to Phone Number screen, if user wants to change his number, and since we don’t want user to press back and come back to OTP screen, then we will change Pop Behaviour and assign Pop To to login_navigation itself and we will also check Inclusive true, these attributes can be found on right panel upon selecting navigation arrow.
Now, we will create a LoginActivity, in same folder where we have MainActivity, along with activity_login.xml in layout package, where we will define layout, hosting login_navigation we created earlier. activity_login.xml will look like this:
<?xml version="1.0" encoding="utf-8"?>
<androidx.constraintlayout.widget.ConstraintLayout xmlns:android="http://schemas.android.com/apk/res/android"    xmlns:app="http://schemas.android.com/apk/res-auto"    xmlns:tools="http://schemas.android.com/tools" android:layout_width="match_parent"    android:layout_height="match_parent">

 <fragment
    android:layout_width="match_parent"
    android:layout_height="match_parent"
    android:id="@+id/login_nav_host_fragment"
    android:name="androidx.navigation.fragment.NavHostFragment"
    app:defaultNavHost="false"
    app:layout_constraintLeft_toLeftOf="parent"
    app:layout_constraintRight_toRightOf="parent"
    app:layout_constraintTop_toTopOf="parent"
    app:navGraph="@navigation/login_navigation">
  </fragment>

</androidx.constraintlayout.widget.ConstraintLayout>
We will then set activity_login.xml using setContentView in LoginActivity onCreate method.
That is it, we have our basic layout, fragments and navigation ready. In the next part we will look at adding network request, saving authentication token, creating a splash screen, which will check if the user is logged in or not, every time app is opened.
I hope you liked it, you can also subscribe below and get the code for tutorials being published every month (including this one).

